How To: Replace Your Turntable Cartridge
Changing your turntable cartridge to revolutionize your vinyl listening experience. The cartridge plays a pivotal role in converting grooves into beautiful sound, and a high-quality one can enhance details, dynamics, and reduce noise. With this guide, you will be able to change out your own turntable cartridge and experience improved sound quality and a fresh perspective on your vinyl collection. Happy listening!
Replacing Your Cartridge and Stylus
All great things must come to an end…including your cartridges. Whether you’re replacing for maintenance, simply needing an upgrade, or installing for the first time, it’s essential to understand the correct way to install a cartridge to get the most out of it and your turntable.
It looks simple on the outside, but installing a cartridge can be a complex process that requires precision and patience.
Just like the tires on your car, sometimes cartridges need replacing. Whether they’ve been overworked, worn down, or you simply found a better option you’d prefer to use, there will be a time in your analog audio career when you’ll have to swap or install a cartridge.
Of course, you could pay professionals to do it for you, but what’s the fun in that? Learning how to install a cartridge on your turntable by yourself not only saves you some money but also gives you a greater understanding of the intricacies of your turntable.
For over 40 years, we’ve been selling and researching the best Hi-Fi gear on the market, turntables included. We know that cartridge replacement can be tricky to take on yourself, so this article will talk about all the dos and don’ts of cartridge installation. We’ll break down the process into quick and easy steps so you can be sure your installation goes fast and efficiently.
Parts to Consider
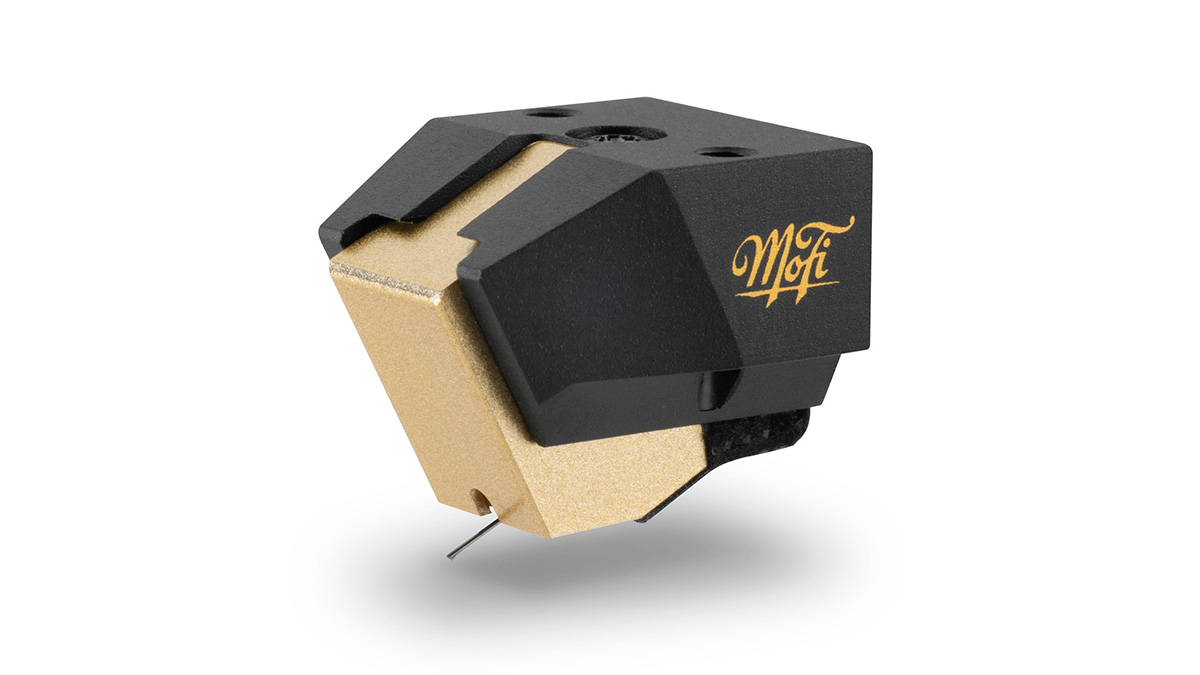
If this is your first time interacting with your cartridge, it’s essential to acquaint yourself with what exactly your cartridge entails. The cartridge is the small component connected to your tonearm, the movable arm that reaches over your platter.
Your cartridge will be connected to your tonearm via the headshell. The headshell is usually screwed into the end of your tonearm, and then the cartridge is screwed into the headshell.
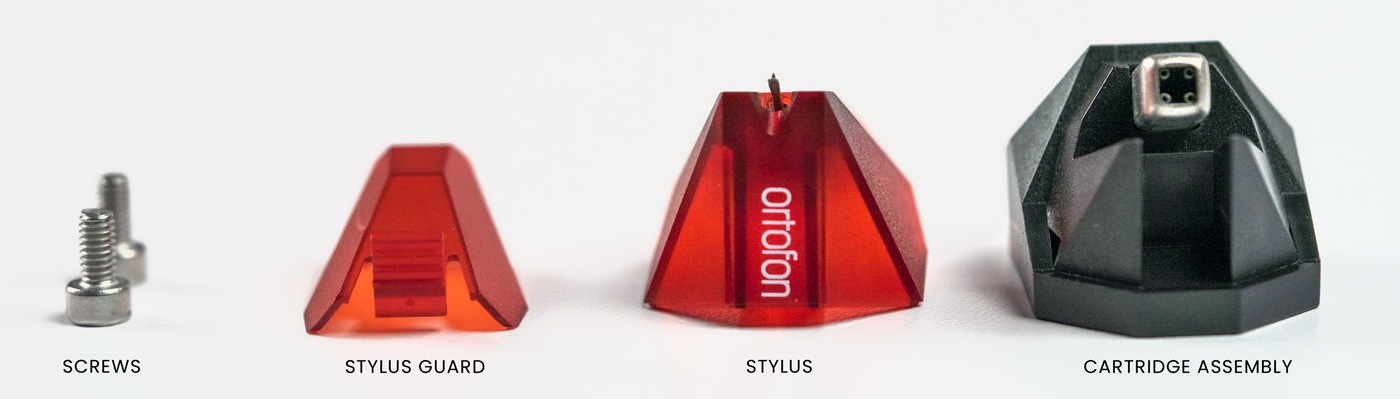
Lastly is your stylus. The stylus is the needle that rides along the grooves of your vinyls and collects the audio data. It’s a small, delicate part of your cartridge and is usually removable, and detaches relatively easily.
Before You Begin
Before you start, deciding whether you’ll be keeping your old cartridge is essential. If it's your first install, this won’t be an issue, but if you’re replacing it, we highly recommend removing the stylus (or needle) and popping it on your stylus guard. Either way, removing the stylus while working around your cartridge is always good to avoid any unnecessary or accidental damage to it.
If your current cartridge is still in working order, it never hurts to keep it on standby just in case, and your stylus guard will ensure it’s always ready to go.
Step One
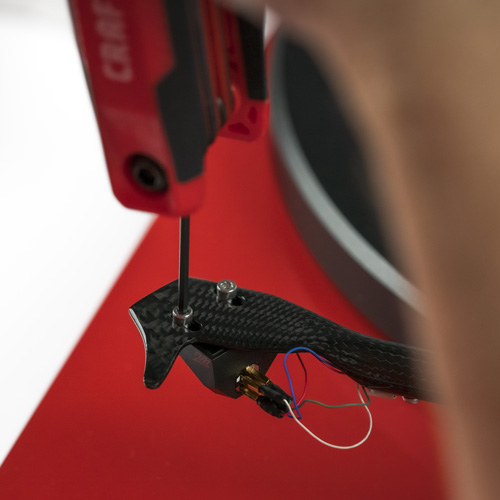
The first thing to do is remove your old cartridge from the headshell of your tonearm. These screws are often found directly at the top of the headshell. Unscrew and set them to the side.
Step Two
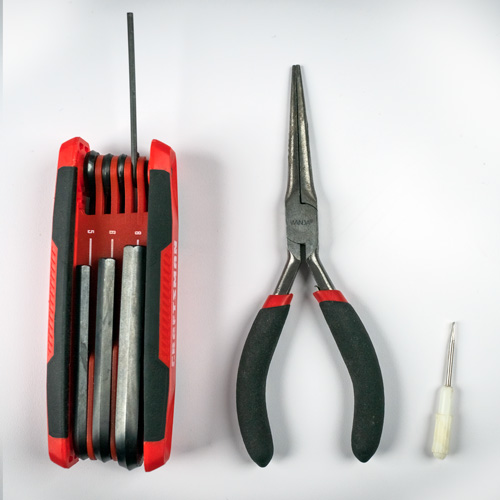
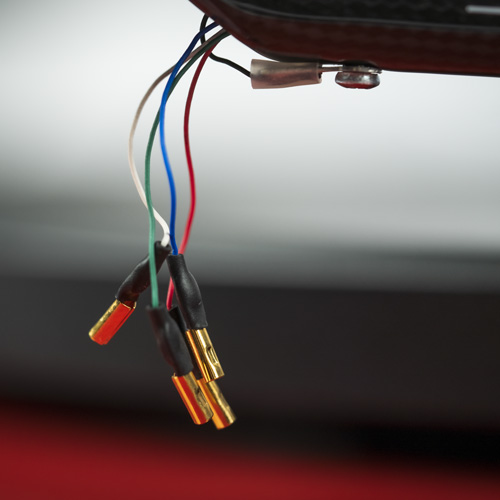
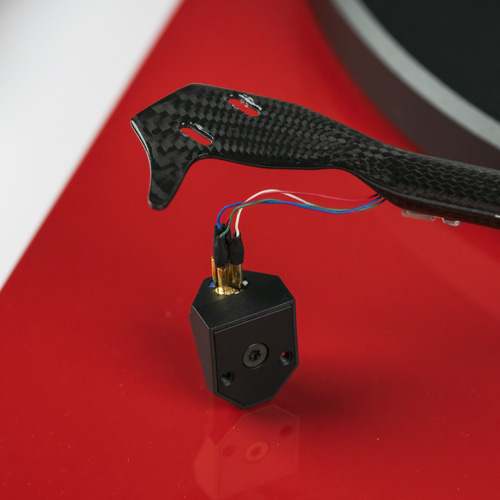
Now your cartridge should hang from the wires and loose from the headshell. The cables connecting the cartridge to your headshell are tiny, so you’ll need some thin longnose pliers to disconnect them. Make sure to pull from the tips, never tugging at the wires as they’re fragile and break easily.

Step Three
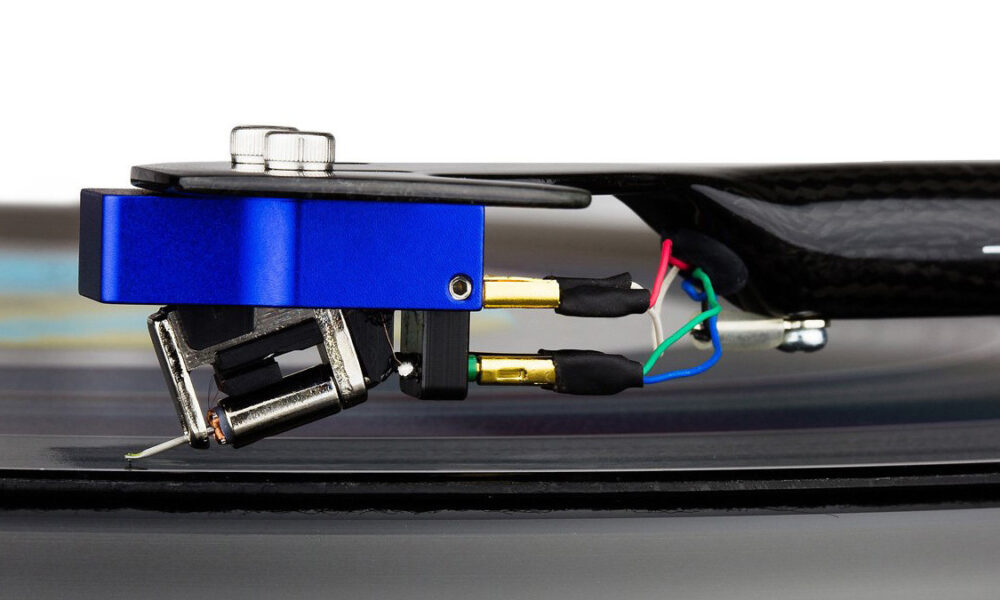
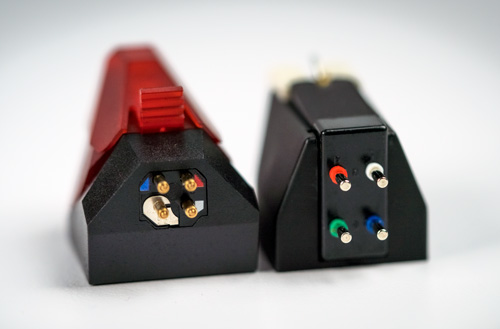
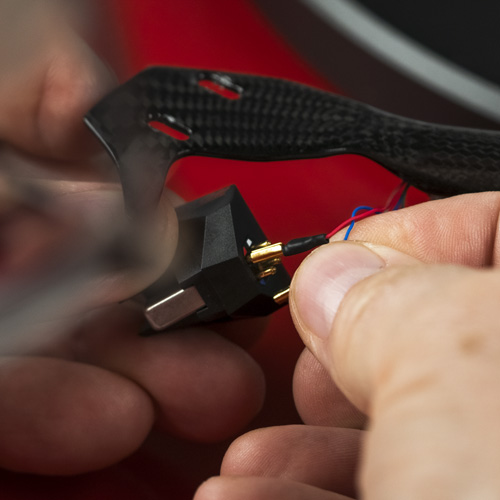
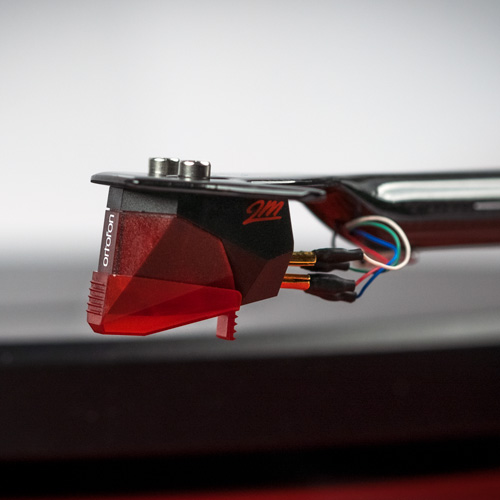
With your headshell removed and your cartridge disconnected, you can now dispose of or store your old cartridge. Bring in your new cartridge, remove the stylus if connected, and set it to the side. Begin plugging in the headshell wires to the new cartridge by matching the wires with the color-coded connector on the cartridge.
Helpful tip :
Headshell lead wires have a universal standard for the color of the contact connections.
White: Left channel cartridge positive.
Blue: Left channel cartridge negative.
Red: Right channel cartridge positive.
Green: Right channel cartridge negative.
Step Four
Once your new cartridge wires are connected to the headshell, it’s time to secure the cartridge to the headshell with the screws you removed in step one. Grab the screws and re-screw your cartridge to the headshell. Now you can insert your stylus back into the cartridge.
Step Five
With everything secure and locked in place, you can secure the headshell back on the tonearm with the headshell screws. Lastly, enjoy!

Adjustments
When it comes to turntables, precision is key. After replacing your cartridge, you should consider a couple of adjustments to ensure optimal performance depending on your turntable. These critical adjustments include balancing the tonearm, setting the tracking force, and adding or subtracting the anti-skate force of your tonearm. Anti-skate force balances the tracking and lateral forces acting on the stylus to keep it in the center of the groove. With an improperly set anti-skate, the stylus will either emphasize the left or right channel, depending on which wall of the groove the needle touches more.
So, to start this process, ensure your tonearm is properly balanced by setting your tonearm's counterweight at zero and slowly increasing the weight until it begins to float freely. Next, you'll want to set the tracking force. Most tonearms will have a dial or knob on the counterweight to do that. Slowly move the knob to match your cartridge manufacturer's recommendation. If you do not know this off-hand, the number is often between two to three grams. This adjustment ensures your stylus does not skip or jump out of the groove while playing your favorite records.
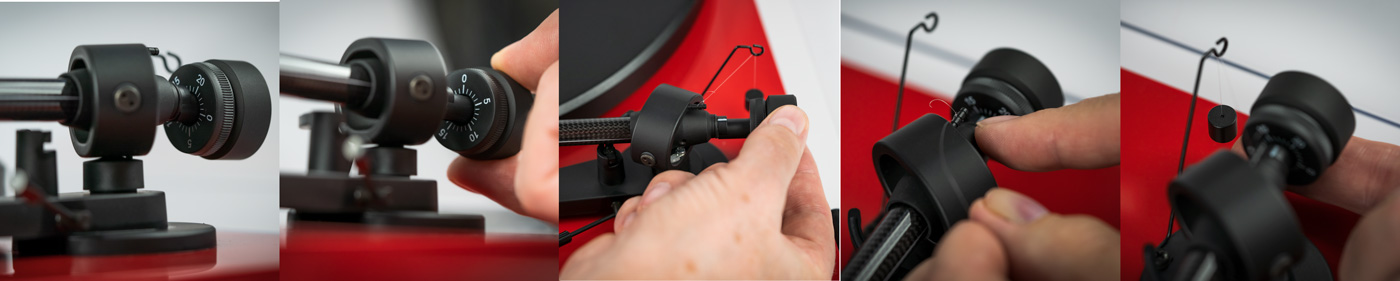
Now, you can adjust the anti-skate properly. Many turntables have a knob that is already preset. However, you will want to aim for the number to match the tracking force. Once you’ve done that, it’s about listening to your record. Listen closely near the end of the record for any unpleasant hissing sounds to determine if the anti-skate needs to be adjusted further. Listen to the left and right channels to determine if a greater or lesser anti-skate force is needed. Adjust until the audio sounds exactly how you want it to be, and then enjoy!
Audio Advisor’s Free Cartridge Installation
If you’re buying a brand-new turntable and cartridge together through Audio Advisor, one of our expert technicians can install the cartridge for you for free before it ships. That means you’ll be that much closer to experiencing your vinyl right out of the box. Just make sure to contact one of our audio experts and let them know you’d like the installation, and we will handle the rest!