How To: Cleaning Your Records
Welcome to our practical guide on one of the most essential tasks for any vinyl lover – cleaning your records! While these classic sound carriers can bring a unique warmth and depth to your music, they are also prone to gathering dust and grime. A well-maintained vinyl not only sounds better, but also extends the life of your equipment and increases the record’s resale value.
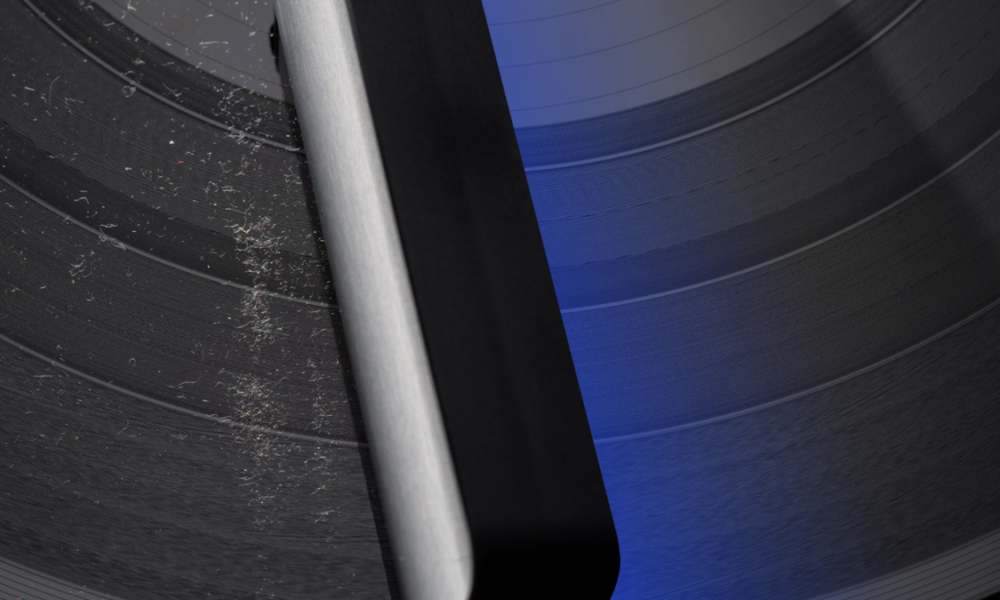
It’s been a long day, and you’re ready to sit and relax. Your favorite LP is on, and you’re feeling it. Then you hear a crack, and you listen to it again. It’s become the only thing you can listen to, and you can kiss that much-needed relaxation goodbye.
It’s officially time to clean your vinyls... Now you might take pretty good care of your vinyls already; now and then, you dust them off, you do a little bit of this, and they’re good to go, right? Maybe, but not always. Taking precautions and keeping your vinyls mostly clean from dust and other grime is the best way to maintain your record's sound as pure as possible, and it can save you from the potentially costly replacement process. At some point, however, you may find that your vinyls require a deeper cleaning.
Audio Advisor has been in the Hi-Fi business for over 40 years, so we have seen it all regarding vinyl care. Many tools, kits, solutions, and gadgets can take your cleaning process to the next level, but we’ll discuss that later. This section will be all about the basics, the techniques that won’t break the bank but will still get the job done.
What You’ll Need:
- Microfiber cloths (at least 3-5)
- Soft-bristled Paintbrush (optional)
- Dish soap
- Isopropyl alcohol (optional)
- Distilled water
- Drying rack
- A little patience
Step One: Making A Cleaning Solution
Making a solution to clean your records can be surprisingly easy and affordable. Many formulas exist, and most typically feature some mix of distilled water, dish soap, and isopropyl alcohol. Alcohol is commonly added to aid the drying process, but there is some debate on whether or not too much alcohol can harm your vinyls and expose them to more wear, so moderation is key here.
Our recommendation:
- 16 oz. of water (Distilled is best)
- Four drops of dish soap
- A few drops of isopropyl alcohol
Step Two: Washing
The solution is now in hand; you’re ready to start digging in. The key to wiping down vinyl is sticking to clean microfiber cloths that won’t produce static or leave behind any residue like a paper towel or regular cloth might. You’ll also need a little finesse and a light touch to avoid scratching and getting the label wet. A paintbrush or soft-bristled brush can also be an effective tool if you have one available.
Start by dipping your cloth or brush in your solution and lightly working your way from the inside out, avoiding the label. You’ll want to touch or dab vertically, working along the grooves of your record instead of against it.
Once you apply the solution to both vinyl sides, it’s time to rinse! Rinsing can get messy, so take care of your label and keep it dry as best you can. It may seem weird to be putting water directly onto your vinyl, but it’s safe. You’ll want to hold your record up, use a cup (preferably on the smaller side), and gently pour the water down every vinyl edge, rotating as needed. Repeat this process a few times, and you can rest assured that no solution is lingering in the grooves.
Step Three: Drying
This step may be the simplest, but I promise it’s essential. You want to keep moisture away from your vinyls once they’re stored. Putting vinyl back in its sleeve with even a little water on it can promote the growth of mildew and mold that could ruin your record entirely.
“Putting vinyl back in its sleeve with even a little water on it can promote the growth of mildew and mold that could ruin your record entirely.”
Place your record flat against another dry, clean microfiber cloth and flip it over a few times to remove excess moisture from the wet-cleaning process. Now it’s time to air dry. Dish racks with fabrics on top can make excellent air-drying stations. Ensure your vinyl sits for 30 minutes to one hour before storing, and when in doubt, keep it out until it is fully dry.
There You Have It
Your record is clean! Nice Job! Remember that plenty of other resources will swear by their cleaning regimens, so feel free to explore what works best for you. If you feel satisfied with this process, you can take off here. But a world of unique products from trusted brands can make every step of this process much easier and more effective. We can recommend tried and true products to change the cleaning game.
All-In-One Kit
The Record Cleaning Kit from Vinyl Buddy is a fantastic kit that features five excellent record-cleaning products. It comes with a velvet brush, a nylon brush; a stylus brush; its cleaning solution; and even a storage pouch. This kit can be an excellent option for anyone looking to get everything they need at a great price. You can find Vinyl Buddy Kits on Amazon.
Extra Tools
You're in luck if you’re looking for higher-end or more dedicated record-cleaning tools. Many companies make solutions, brushes, and similar tools to elevate your cleaning session. Record Doctor makes some fantastic products dedicated to vinyl cleaning. They make a powerful and safe cleaning solution to ensure your vinyl gets the deep clean it deserves. Record Doctor is far from the only option. Great brushes and cleaning solutions can be found with us here and all over Amazon or directly from company sites like Vinyl Buddy, Audio Technica, and more.
The Big Guns
If you made it down here, you’re looking for something serious. We like your style. If hand cleaning sounds like too much work right now, you could try out record cleaning machines that take care of all the hard stuff for you. The Record Doctor VI Record Cleaning Machine uses a vacuum that can eliminate all the dust, grime, and debris by itself.
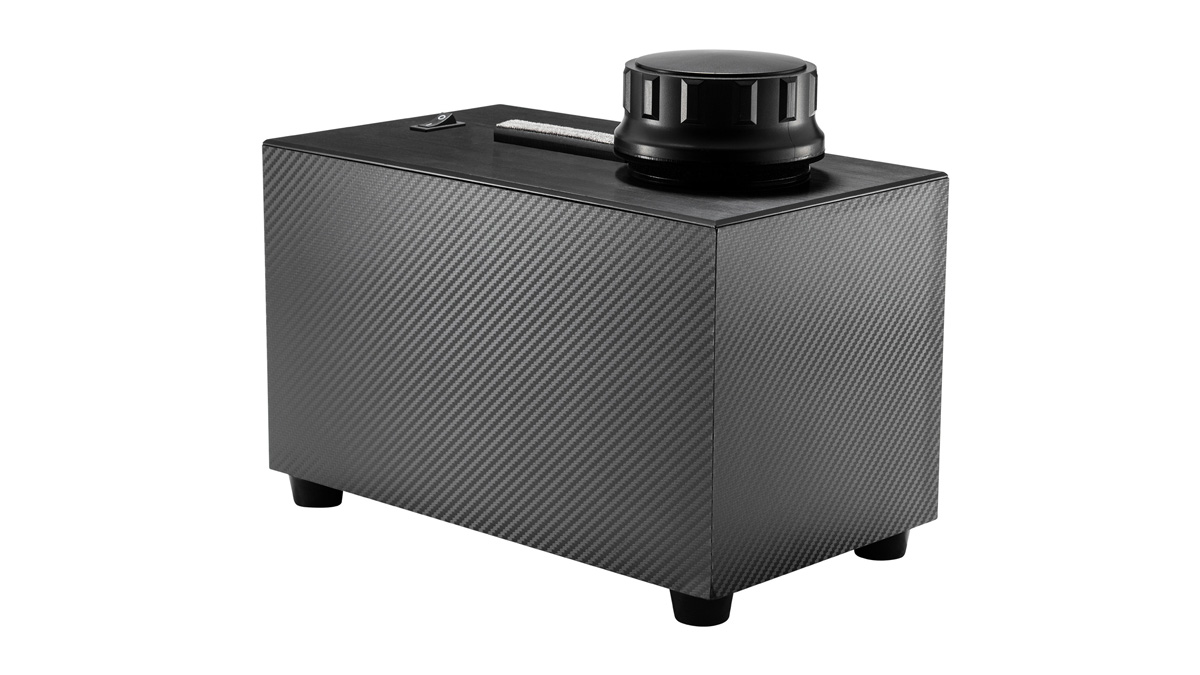
Vacuum record cleaners aren’t the only machines out there, either. Ultra-sonic cleaning machines use water and high-frequency sound waves that are insanely effective at cleaning vinyls, and the process is completely non-abrasive. A great ultra-sonic option is this machine from Vevor.
One Last Thing
No matter how you do it, cleaning your vinyl and maintaining regular vinyl hygiene can ensure a quality record-listening experience every time. Ultimately, it’s up to you to determine what methods, techniques, and products work best for you, your time, and your budget. So save your future self from unwanted stresses by giving your collection a good clean. You won’t regret it!